Posted in herbs, ingredients, recipes, slow food, Summer, terrific tools, tagged basil, basil pesto, dips, linguine sauce, mortar and pestle, pasta sauce, pesto, pine nuts, slow food, spreads, Summer, wet garlic on May 12, 2008|
2 Comments »
Nothing so good as pure old-style, old-school pesto. Particularly when made in the old-fashioned way, with a mortar and pestle and while sitting outdoors with basil’s best friend – summer sunshine – for company.
Because the basil leaves are not cut as they would be in a food processor they preserve so much more of their aromatic oils; similarly the garlic eludes its usual sulphurous fate and the pine nuts retain their delightful savoury mealiness.
And as if that weren’t good enough news, considering the time and hassle it takes to assemble, dissemble, scoop-out-without-wasting, clean and finally put away a food processor, a mortar and pestle is downright quicker, greener, altogether simpler … and infinitely more satisfying.
I ♥ my mortar & pestle!

pesto recipe
- a fistful of pine nuts
- 3 or 4 or 5 small cloves of wet (young) garlic
- a large bunch of fresh basil
- about 50g fresh parmesan (or pecorino romano if you have it)
- a few slugs of extra virgin olive oil
Pound the pine nuts and garlic together in your mortar until they form a paste, then strip the basil leaves from their stalks (chop or tie these together and use in a tomato sauce) and add them in small handfuls. Keep pounding and grinding, adding more leaves as they pulverize down. When all the leaves are used and you have a rough paste, grate in the parmesan and then let down (thin) this now thick compound with olive oil, glug by glug and stirring the while, to your desired consistency.

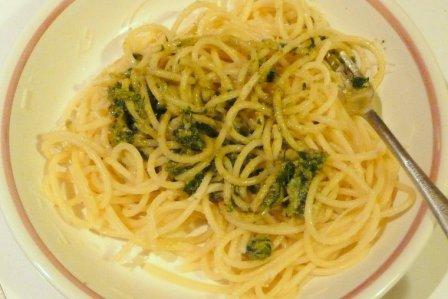
Satisfying stirred into linguine or spaghetti: the coarse texture clings to the pasta, providing substance and savour

Delectable atop a slice of artisan bread – lovely rough consistency
Decant into a jar and keep in the fridge for a taste of summer, whatever the weather does
Read Full Post »
 Excellent article in today’s Guardian. It argues that culinary technique and confidence are more important than following recipes and it’s by Glynn Christian, for heaven’s sake – who knew he was still around? Turns out he’s been Down Under for the last decade and has a new book to promote.
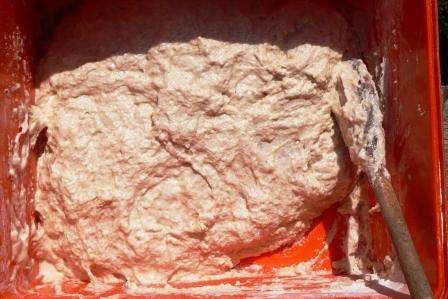


